Loading
DIY SNAKE RACK BUILD pg 1 the frame
Andrea
www.darwinsreptiles.com
We agreed the next time we made a rack we would share our "knowledge" with the online community.
Now that being said, the information inclosed in this thread is what we have found to work best in OUR collection. This might not work for everyone! This is also not the easiest thing to do. A lot of the tools we use are not things most people have lying around their garages. These racks are generally ment for the collector who has a few snakes, and not enough room to display them in proper enclosures. If I had limitless funds I would love to buy state of the art enclosures, however for most of us "working" people just starting in the hobby these homemade racks are usually good enough!
We have found these work very well for ball pythons as they tend to provide extra privacy for the snakes, which helps a lot with consistent feedings. We do also have some subadult boas and adult corns in these enclosures.
The bins we use for the adult racks are Sterilite 36L underbed latchboxes
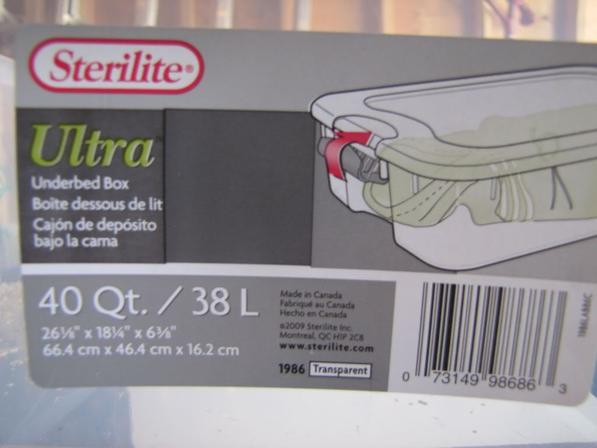
The bins we use for subadults are from costco. And the bins we use for our hatchling racks are the sterilite shoebox ones.
The supplies we recommend having for building the bins are as follows:
- Electric drill and drill bit
- Screwdriver attachment for drill
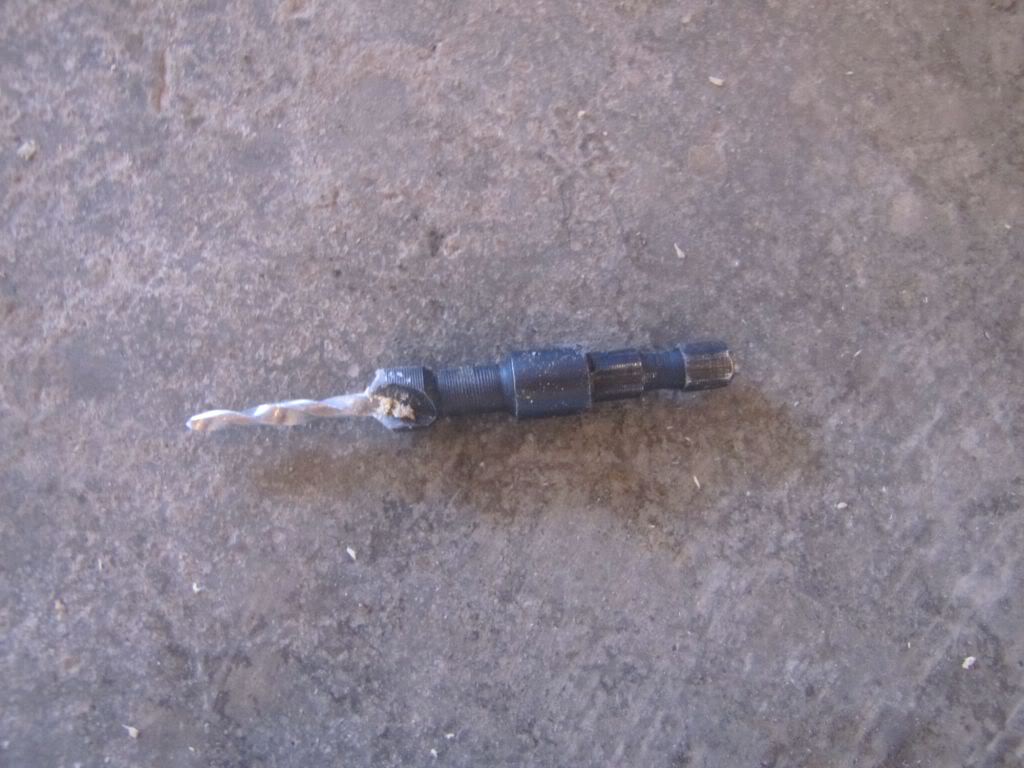
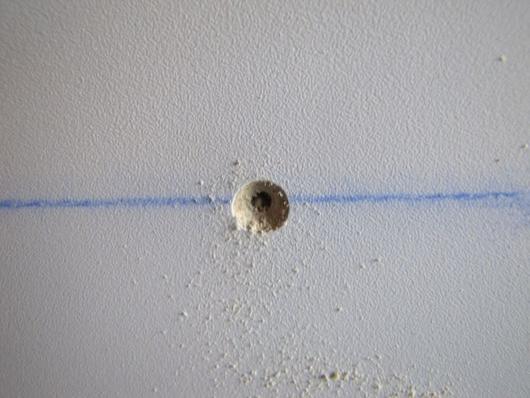
- Countersink bit (Picture 1)
- Bins and measurements for your rack
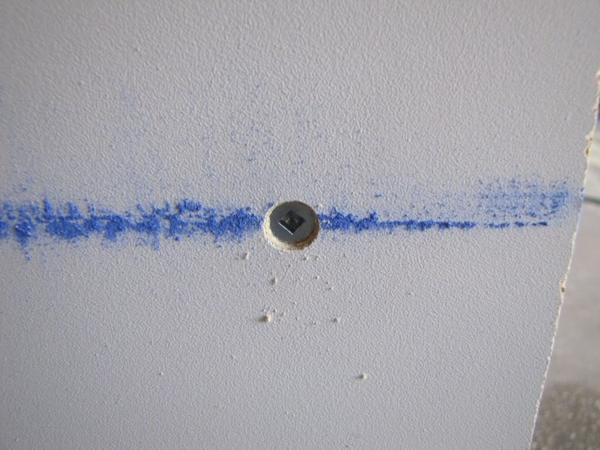
- Particle board screws (Picture 2)
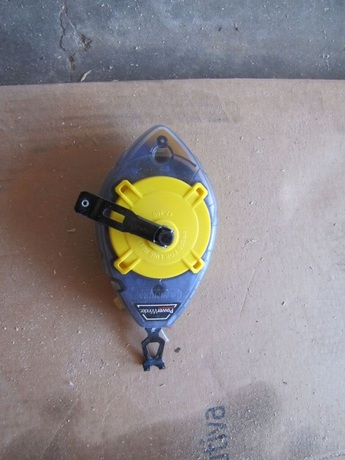
- Chalk line (Picture 3)
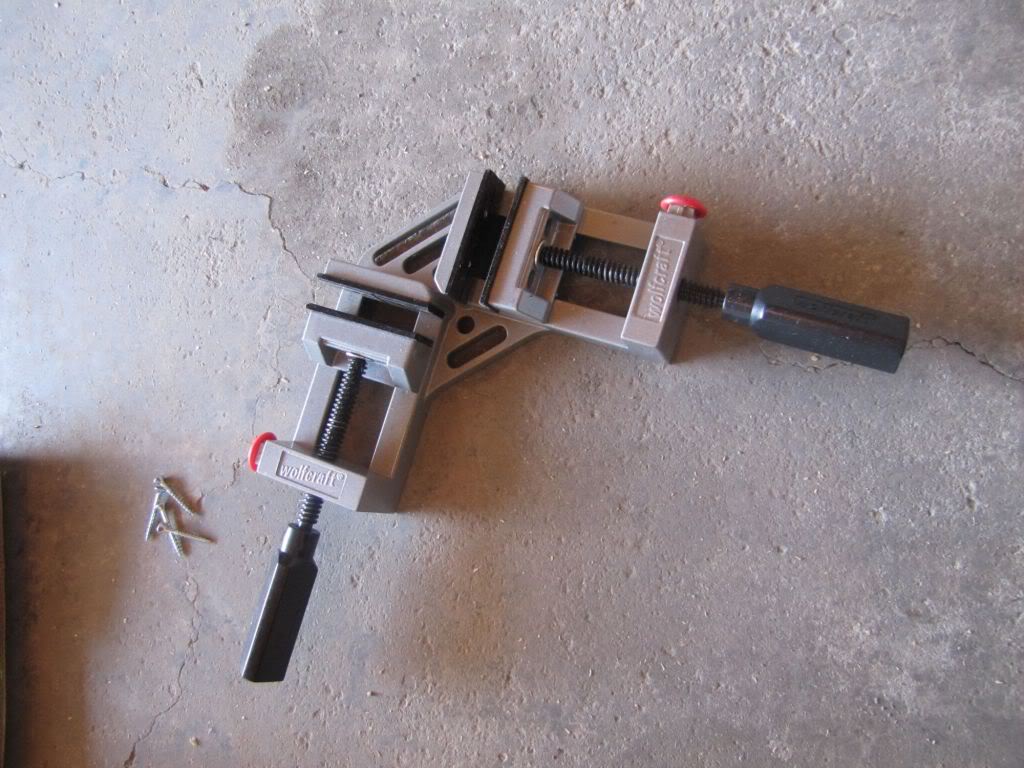
- Corner Jig (Picture 4)
Measure your bins and make a plan for your rack system. We run our adult racks in sets of 5, our subadults in 9's and our hatchlings in 34. It all depends on personal preference. Plan plan plan! There is a lot of chance for customization when it comes to these racks.
The supplies we recommend having for building the bins are as follows:
- Electric drill and drill bit
- Screwdriver attachment for drill
- Countersink bit (Picture 1)
- Bins and measurements for your rack
- Particle board screws (Picture 2)
- Chalk line (Picture 3)
- Corner Jig (Picture 4)
Measure your bins and make a plan for your rack system. We run our adult racks in sets of 5, our subadults in 9's and our hatchlings in 34. It all depends on personal preference. Plan plan plan! There is a lot of chance for customization when it comes to these racks.
|

|
We use 5/8" Melamine from Home depot. It is finished white on both sides. From there we usually go in with a plan how to break the giant sheets down into the pieces that we need. They charge $29 for a huge piece of melamine, and $1 per cut you make.
Once all pieces are cut, connect the top of the rack with the 2 sides using the corner jig. This makes sure that they all match up entirely.
Once all pieces are cut, connect the top of the rack with the 2 sides using the corner jig. This makes sure that they all match up entirely.

From here we drill 4 holes along the entire side of the piece of the wood to make sure that it wont move or flex while we are putting everything together. After doing one side we attach the other. The way we drill all the holes for the racks is using the countersink and then drilling the screws in. The purpose of the counter sync is essentially to recess the head of the screw once its been drilled in.
Here is a picture of a countersink'd hole and a picture of a countersink'd hole with a screw in it. See how the screw is sitting lower then the edges of the board?
Here is a picture of a countersink'd hole and a picture of a countersink'd hole with a screw in it. See how the screw is sitting lower then the edges of the board?

These photos are from our subadult rack setup and they are considerably longer then our adult racks.
Once the top and 2 sides are in place you can move onto the shelves themselves. Getting spacing for these correct is incredibly important as the bins can flex and give too much space and risk having your snakes escape!
Once the top and 2 sides are in place you can move onto the shelves themselves. Getting spacing for these correct is incredibly important as the bins can flex and give too much space and risk having your snakes escape!
To attach shelves you need to space the size of the bin plus a few mm for the heat tape that is going to sit along the bottom of your rack.
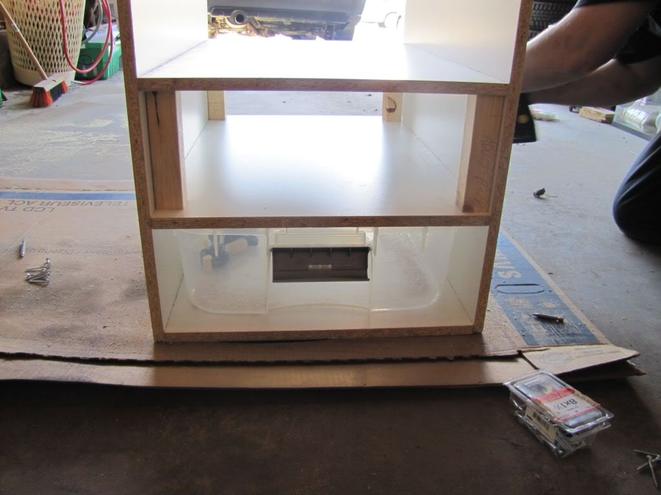
You can use the bin plus some cds to shim it into place, but since we use our designs again and again we use wood measured to fit the bin plus a bit. We put one in every corner and then lower the shelf wood down onto the spacers. Keep in mind these photos are of the rack laying upside down. The bottom is actually going to be the top of the rack.
You can use the bin plus some cds to shim it into place, but since we use our designs again and again we use wood measured to fit the bin plus a bit. We put one in every corner and then lower the shelf wood down onto the spacers. Keep in mind these photos are of the rack laying upside down. The bottom is actually going to be the top of the rack.
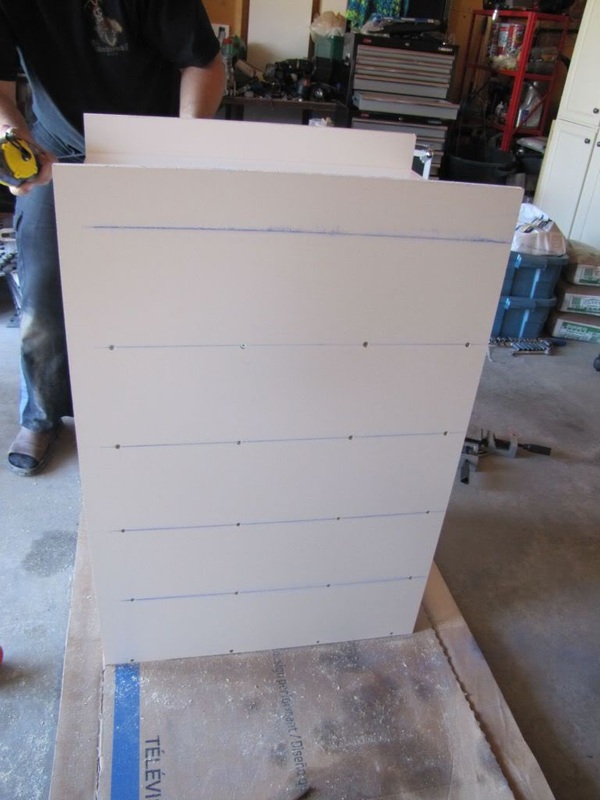
Mark where the shelf is with the chalk line and where you are going to drill your shelf support screws (we recommend 4 per level for this size of rack for stability)
Here is how you use a chalk line:
1) Pull string out of chalk roll
Here is how you use a chalk line:
1) Pull string out of chalk roll
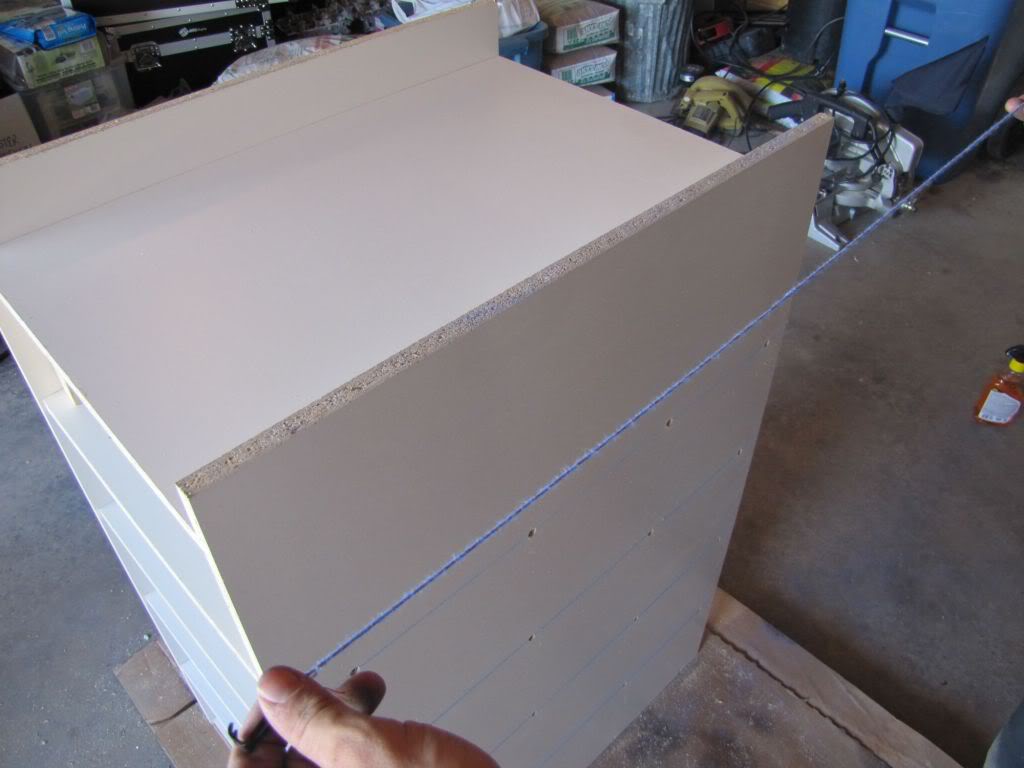
2) Line up in straight line and use clip to hold against wood - pull string back and "slap" against wood
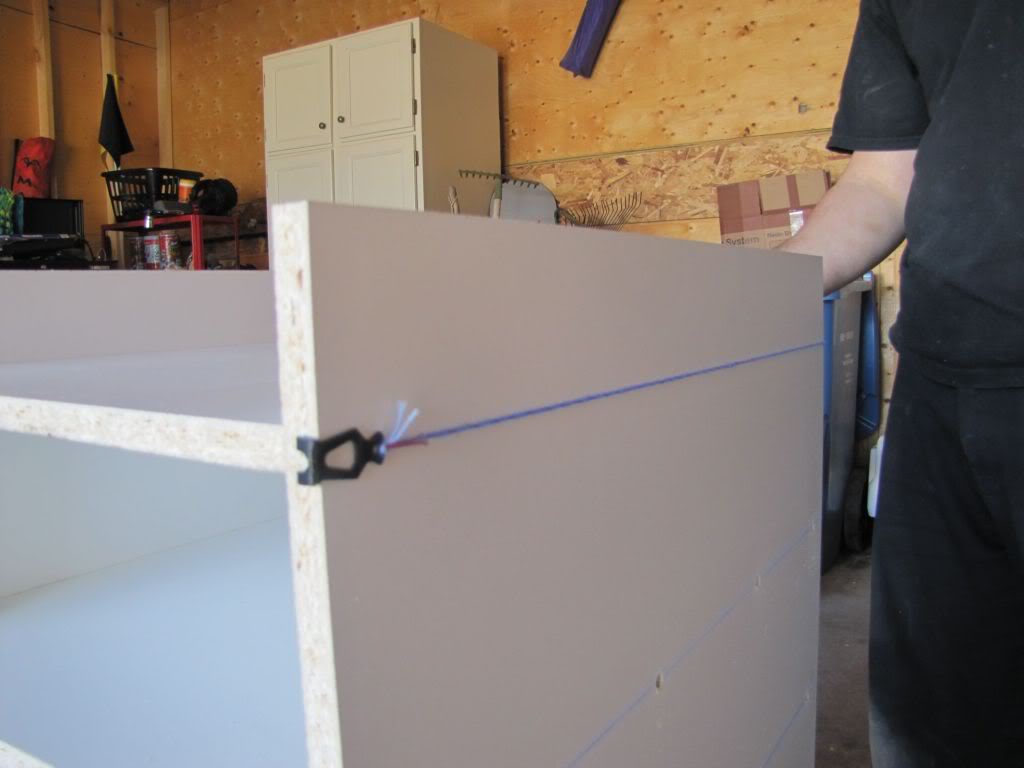
3) Use chalk line to drill "straight-ish" holes
Putting on the 5th shelf
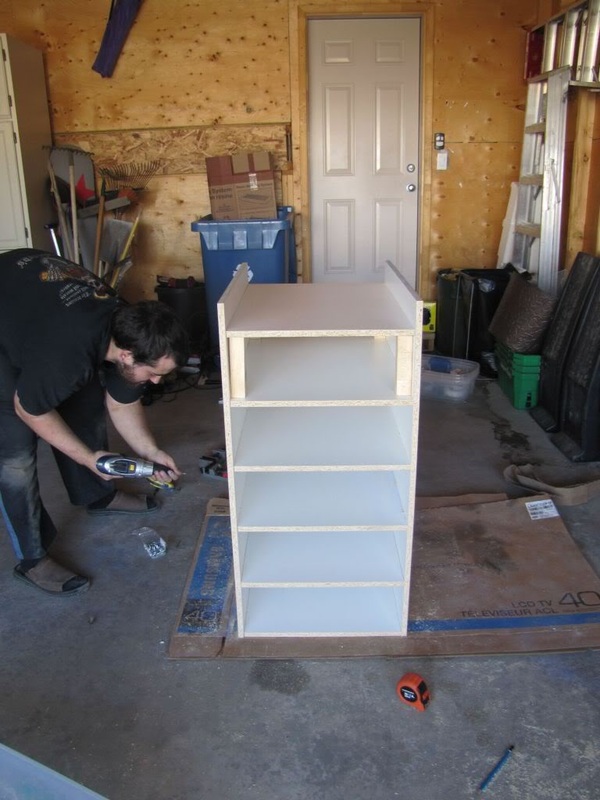
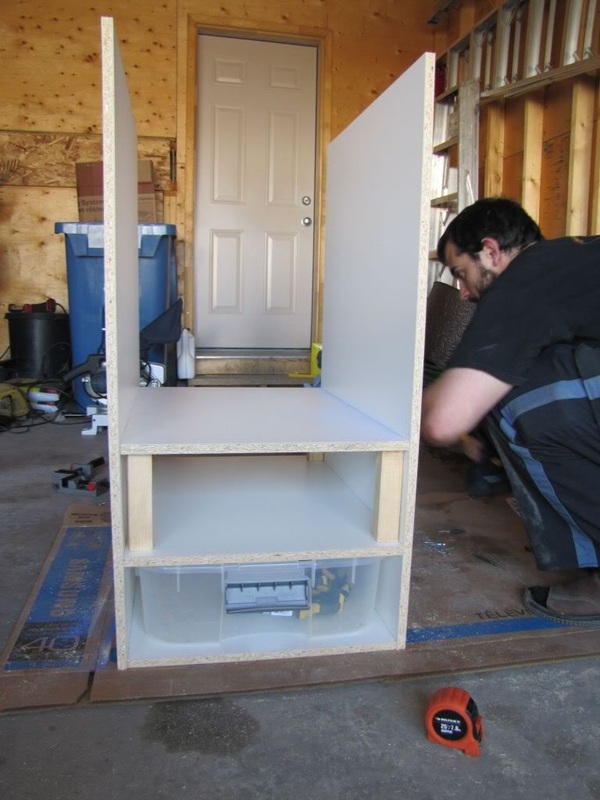
So after all is put together you have a finished frame for your rack and you are ready to flip it over! NOTE**** MELAMINE IS HEAVY! you will need 2 people or 4 arms to make this work! lol
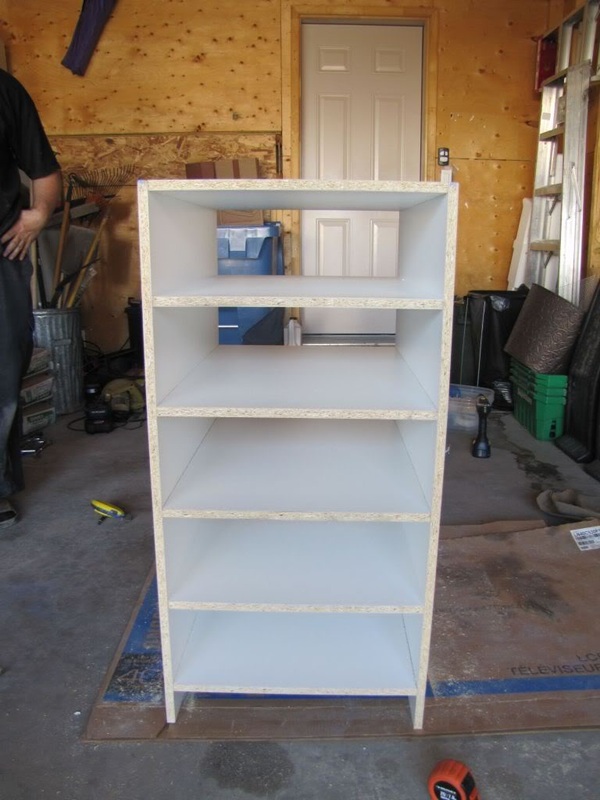
This frame cost us $50 in melamine and supplies. You can finish the edges with iron-on melamine finish to match the white, as well you can get plugs to cover over all the screw-holes. With our reptile room being an undeveloped basement we are never worried about the "cosmetic" side, but the finishing tape and plugs would cost about an extra $10
VOLA! You have a frame for a rack!
VOLA! You have a frame for a rack!
