DIY SNAKE RACK BUILD pg. 2 Heating and Wiring
Andrea
www.darwinsreptiles.com
Hey All!
Second part of building a snake rack is the more challenging!
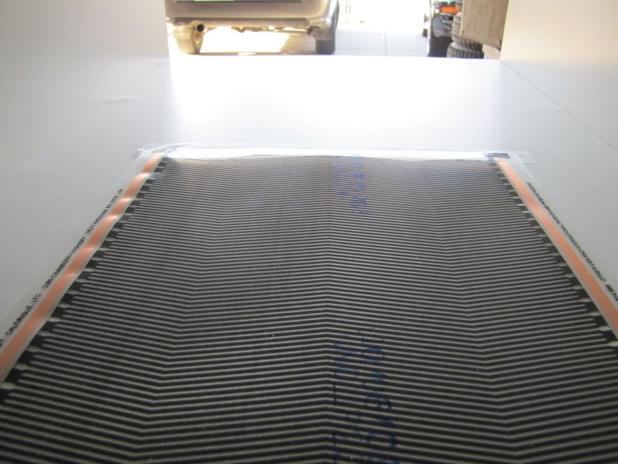
We buy sheets of heat tape from Cornell's world we are using 11" heat tape in one foot sections.
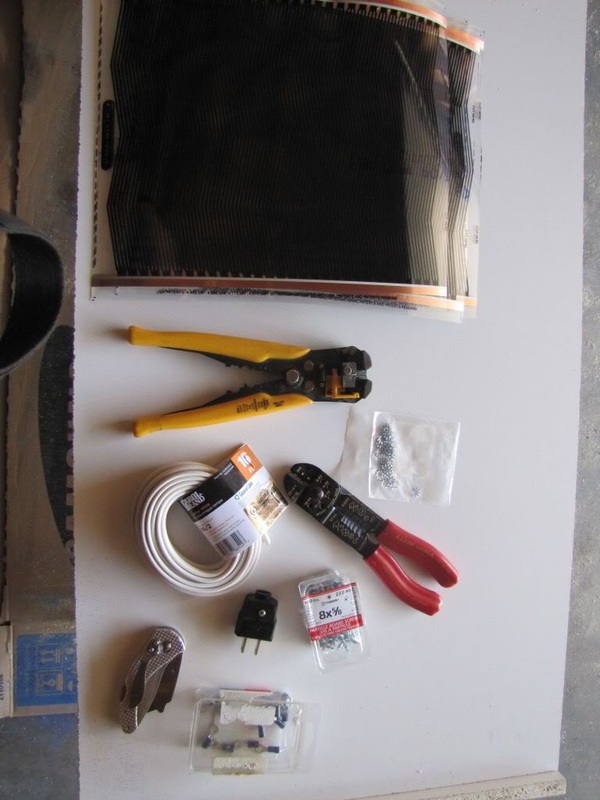
These are the supplies required: lamp wire, wire strippers, crimpers, ring terminals, star washers, knife, plug, electrical tape, calking gun and silicone.
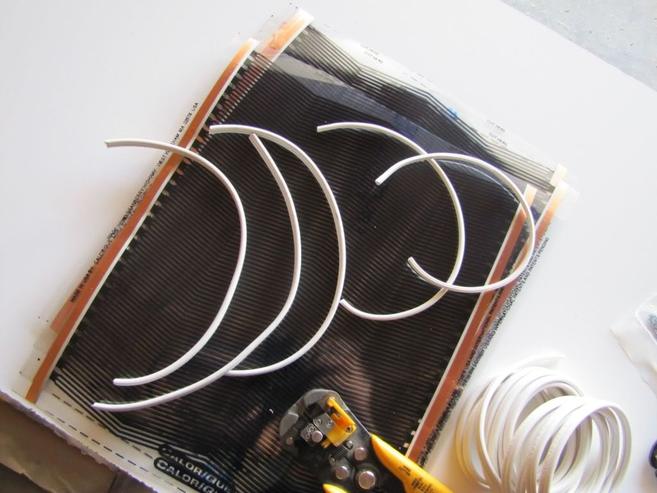
Start by figuring out how long your wires need to be to hook up the levels in your rack. So for my five level rack I need four short wire pairs and one to the wall.
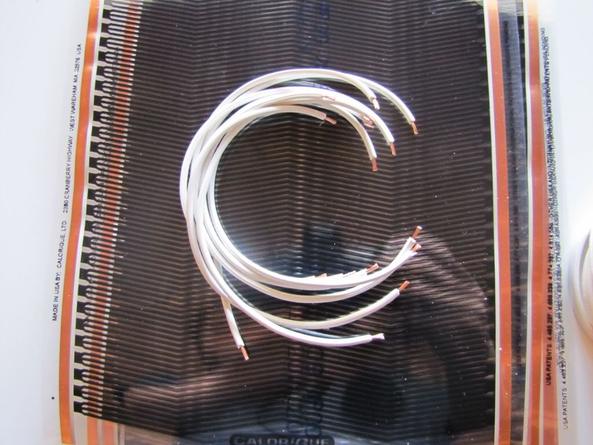
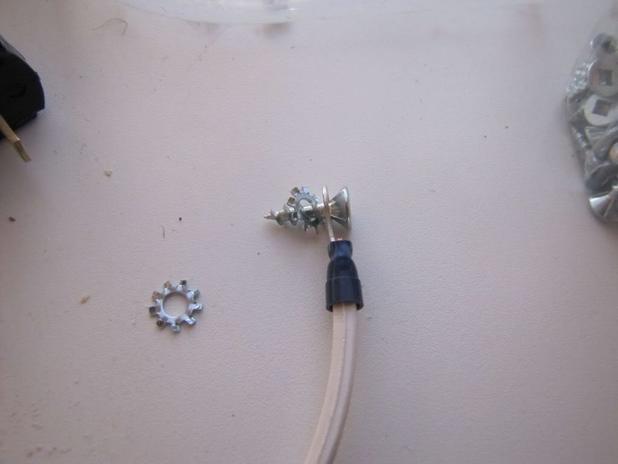
p the pairs apart so that you have two separate insulated wires. Strip off about a quarter of an inch from both ends you want just enough wire to engage the terminal. Crimp ring terminals onto your wires. These are the blue loop end connections.
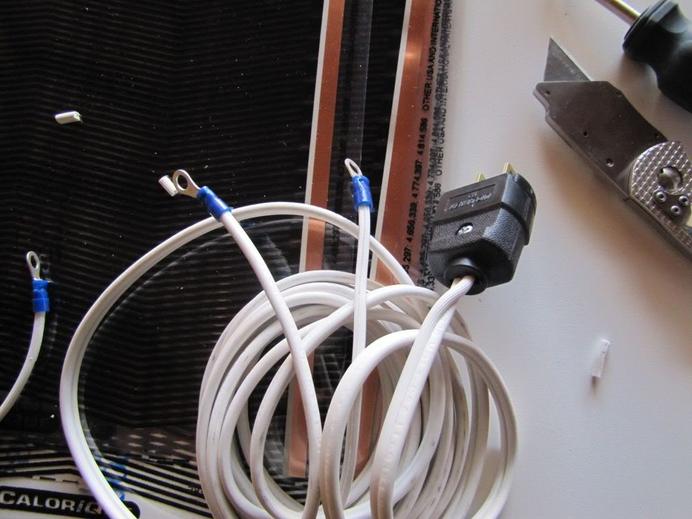
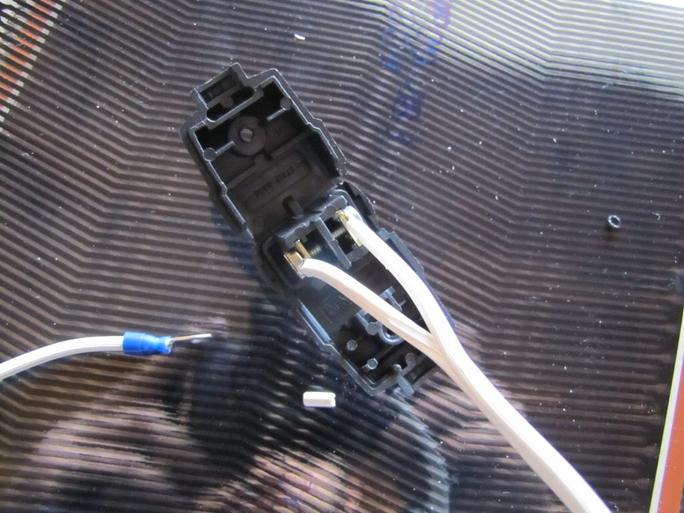
is the Run that goes to your thermostat. One end is ring terminals to connect to the bottom level and the other end has the plug installed on it. The plug is shown cracked open in the bottom picture for you to see the insides.
Now take your strips of heat tape and you will want to put some electrical tape on the ends of the electrical runners. This is to make sure you don't have any live connections open.
Now you can start attaching the heat tape. I like to predrill the holes through the heat tape and into the rack. You want to have the screw head then ring terminal then star washer then heat tape and finally rack. you do not have to use the star washers but it helps make a more stable connection.
r screwing the back down you need to tape the front of the strip down. I am still playing with different tape. Right now we are using hockey tape.
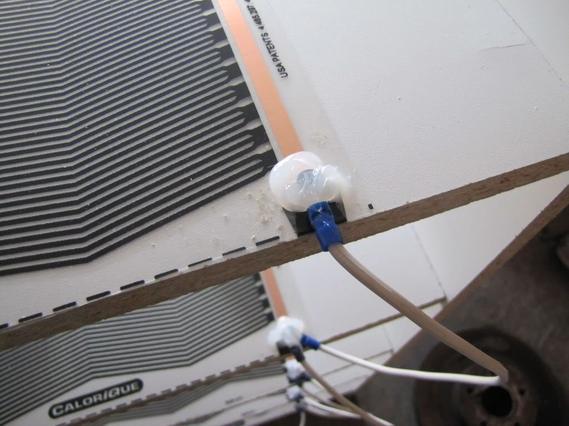
After the top level you will have one wire coming from the level above and one going down.

Once you have all the connections made you will want to cover them with silicone so that they are insulated.
Its pretty easy to do just take your time and a little attention to detail makes it go a lot smoother. We build our racks to last and have no problem making sure things are a little more sturdy to last our day to day use. That being said there may be better/different ways to do this but this is a tried and tested technique we have used many times
