Loading
WATER DRAGON VIVARIUM BUILD
Hoyle00cdn
www.reptileforums.net
Construction in Progress
My water dragons are slowly outgrowing their 75 gallon tank, so it's time to start getting the wheels in motion for my custom vivarium. If it's okay with everyone else, I'd like to post my progress with pictures and maybe videos along, mostly for critique and advice from the more knowledgeable members. I've never taken on such a large construction project before, but I'd rather do this than purchase a 1000 dollar home for them.
The basic dimensions will be:
6 x 3 x 6
*However the depth will probably be closer to 3'4" because after everything is completed the interior dimensions will lose some length from the thickness of the walls.
I'm using this as the basic framing design for my viv.
http://www.repticzone.com/forums/Mon...s/1272637.html
Slayer has posted it several times in here for people to learn from so I bookmarked the link.
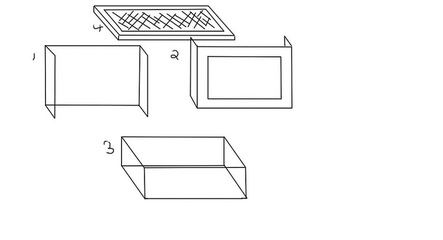
My design has 4 main sections all framed and walled with wood....
The reasoning for the 4 pieces is that the viv can be disassembled and moved freely in and out of doorframes in case I have to move in the next year for work. I really don't know why i numbered them that way but I'll explain each part by significance...
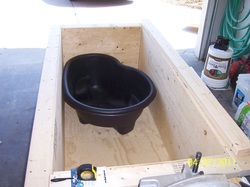
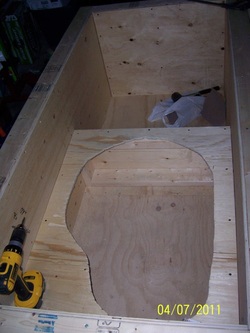
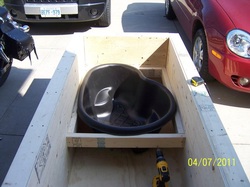
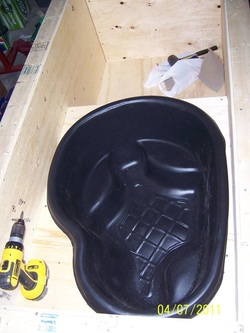
Section 3: is the base and will probably be about 2 feet high with the standard 6 x 3 measurements for LxW as well. The walls will be padded with styrophome and eventually grouted similar to the Haitian curly tail tank i did. The floor is going to have plexiglass screwed into the woodfloor. I just feel plexiglass will be easier to clean when it comes time to clear the substrate out. There is also going to be a pond basin for their water source.
http://www.lagunaponds.com/lagunaeng/preformedponds.php
The Simcoe model will be framed and designed into the floor sections.
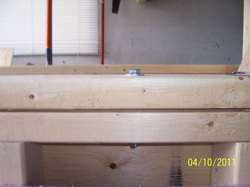
Section 1 and 2: will be the remaining walls of the vivarium extending up another 4 feet. Both of these parts and the foundation part will be connected together. I'm not sure how, but for now I'm experimenting with the idea of using those screw pins you get in most "assemble-yourself" Ikea kits. I don't know the name of them but we've all probably had to use them before. They look like this...
http://rumble.smugmug.com/photos/115074385-S.jpg
Section 2 will also have the "baywindow" which will have two sliding (nontempered) glass doors.
Section 4: will be the lid. I'm not entirely set on the lighting setup jsut yet, so this piece can subject to change.
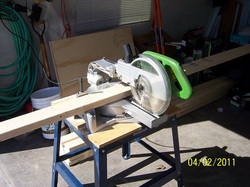
Here is the saw I am using to get the precision cuts I need. It's important to make sure each cut is as 90* as possible for flat leveling.
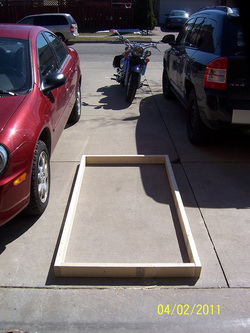
And here's the basic dimensions of my vivarium. I'm using 3inch construction wood screws (no nails)
The two long boards are 6inches, but the two shorter ones are 2'9" to compensate for the thickness of the longer boards, giving a total length and widths of 6x3.
*Corollary: It is not imperative to do this, but I pre-drill all of my holes with a 1/16th inch drill bit. I find that this greatly reduces the risk of splitting the wood.
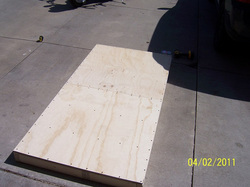
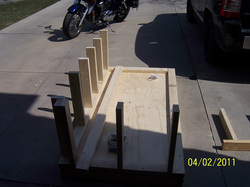
Additional support pieces were put in, including two at the center. This is done because the 6x3 sheet wood was cut in half for transport reasons.
Floor screws were used to mount the sheet of wood onto the 2x4.
*Corollary: before screwing the floor board into place, it's always a good idea to double check your kiddy corners. Make sure the measurements of your diagonal corners are equal. This ensures you have a square fondation (or rectangle).
*Corollary: before screwing the floor board into place, it's always a good idea to double check your kiddy corners. Make sure the measurements of your diagonal corners are equal. This ensures you have a square fondation (or rectangle).
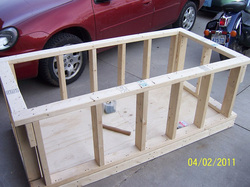
And this is the finished product for the day.
*Corollary: remember to check your kiddy corners on the top end of your frame too.
Next I will be screwing the interior walls with more sheet wood.
*Corollary: remember to check your kiddy corners on the top end of your frame too.
Next I will be screwing the interior walls with more sheet wood.
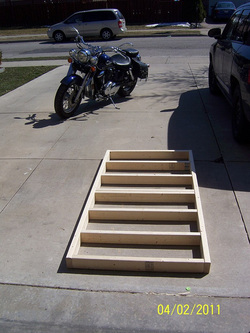
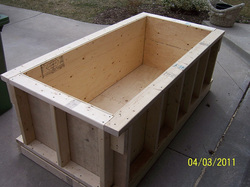
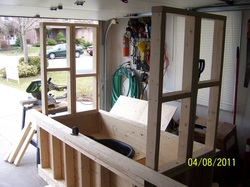
And here is the completed basic frame for the bottom section.
*Corollary: remember that interior walling must compensation for the thickness of the sheet wood being used.
For example if your LxW is 6x3 and you are using 1/2 inch sheet wood either the length or width must compensate for this. I suggest compensating on the width.
Therefore the 4 pieces of sheet wood would be cut
2- pieces 6'
2- pieces 3' - 1/2" - 1/2" = 2'11"
Otherwise your width pieces will not fit.
My actual measurements were 5'5"x2'4"
I used 6x3 to simplify this explanation.
The pond came in today.
I'm not doing any more woodwork until the window doors are in. Those measurements need to be spot on.
This will be the locking mechanism used to hold all three of the main pieces together (12 in total).
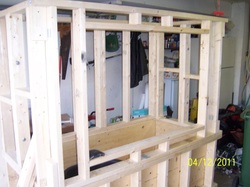
Here's the finished framing, waiting on the glass sliding doors to come in. Probably going to smooth sand the wood siding that the door frame will screw into, then polyurethane it.
