Loading
WATER DRAGON CAGE BUILD
PAGE 3
Acrylic sealer time
Wall Plant mounting
I came across a particular problem while building my vivarium. I guess no building project is without a bump or two in the road. Originally I sufficed with merely poking my fake vegetation into the wall and letting them hang, but the more I thought about it the more I realised this might end up being a disaster. Anyone who owns a CWD, or any lizard for that matter, will know that reptiles have a hard time distinguishing between decoration and perches. It would only be a matter of time before my dragons decided to climb all over these plants and rip them out along with the grout work.
So this was my solution.
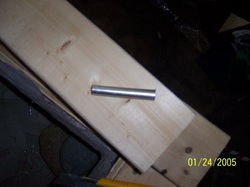
First I grabbed aluminum tubing like so. It's not actually a tube, it's more like a coil, and I will explain why.
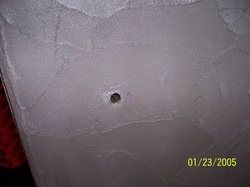
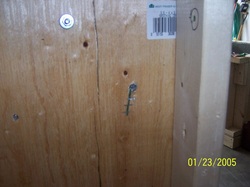
I drilled a hole through the grout, insulation foam and wood, then cut a piece of aluminum tubing to fit inside the hole. The hole I made was the exact diameter of the aluminum, but since the tubing coils like a spring it keeps the piece snug in place. (If anyone familiar with this type of product feel free to name it)
Here I slid the stem of the fake plant through the aluminum and staple gunned it to the plywood. I also used an adhesive silicone to plug the hole so no potential bugs can get in or out of the opening.
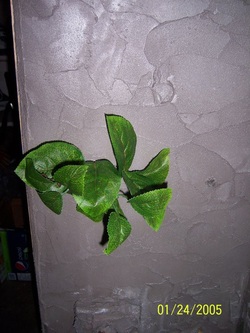
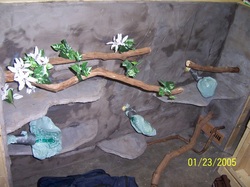
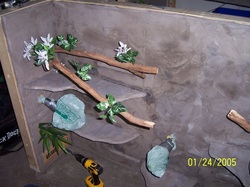
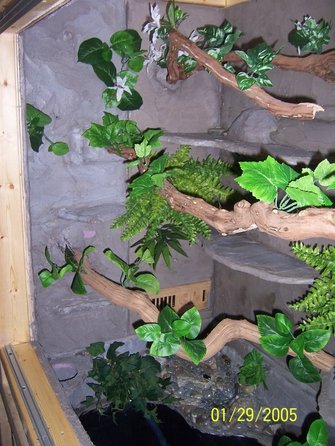
And here is the end result. It's must more stable than before and the aluminum gives enough support for my lizards to climb on without stressing the grout.
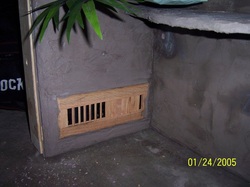
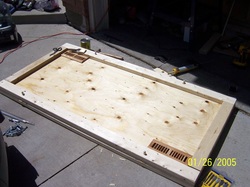
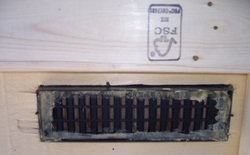
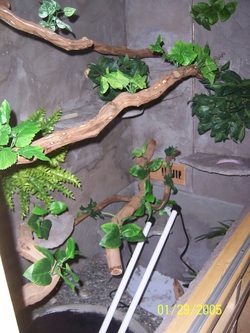
This is the ventilation system. There is another one on the opposite side and both can be adjusted open and closed. There will be two more on the lid to provide an adequate circulation of air.
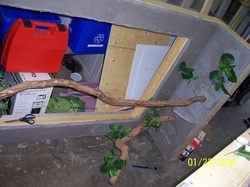
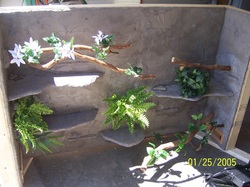
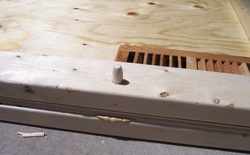
Here I drilled small holes into the perches and slid fake plant stems into them. For the most part the holes were just big enough to fit the stems while keeping them snug in place.
When I began this project I was actually adverse to using fake plants, but I've come to realise that they are an excellent source of basic vegetation. You can craft them to the exact look you want with the freedom of growing live plants in and around them.
When I began this project I was actually adverse to using fake plants, but I've come to realise that they are an excellent source of basic vegetation. You can craft them to the exact look you want with the freedom of growing live plants in and around them.
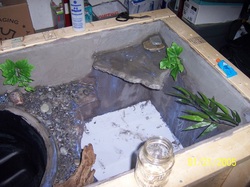
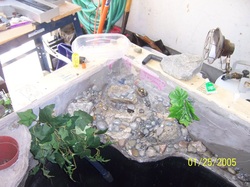
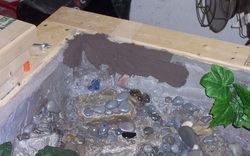
Second road bump. The waterfall was leaking, so I had to break off the covering rock and examine the problem. What I eventually decided to do was remove all the pebble rocks and completely silicone the waterfall basin (as directed at LizardLandscapes.com). I let the silicone completely cure then gave it another test run...voila no leaks (so far, fingers crossed). I glued most of the pebbles back on and then some more to help disguise the silicone the best I can. When it comes to custom waterfalls I've learned that simplicity and quality always trumps aesthetics. Once I have added enough acrylic sealer I will regrout the wall and mount the covering rock back in place. Hopefully then I can have a video of the waterfall working.
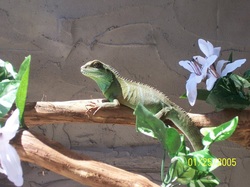
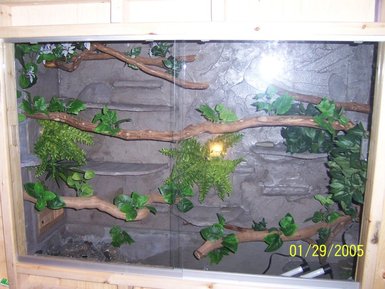
I couldn't resist giving the little guy a tease of his new home.
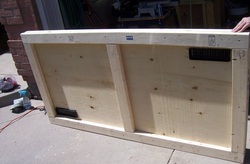
I did the lid today. It consists of a 6x3 plywood sheet with 2x4s outlaying the perimeter on both sides. I cut two holes for two additional vents. The vents were then screened to prevent bugs from getting in or out.
The locking mechanism for the lid is done with 4 dowels and a drill bit.
I regrouted the waterfall where i had to break the covering rock off to reseal the leak i had. I will probably glue the rock back on after the grout dries and i give it a couple coats of acrylic.
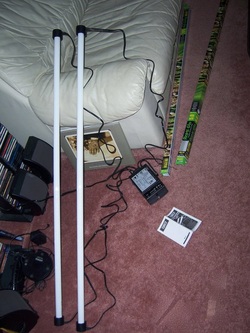
Here's the UVB lighting system I will be using. It is not a canopy so I won't lose ceiling space from it. I will have to cut holes in the lid however to slide the cables through.
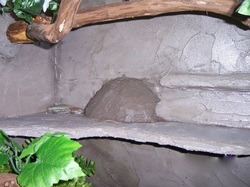
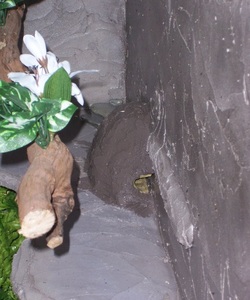
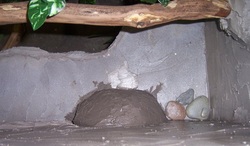
It took me a while to decide whether or not to add this to the enclosure. It's one of those Exo-Terra magnetic fake rock hides for smaller lizards. I glued the one half to the wall and grouted over it to make it match the texture. I have decided not to house my Haitian Curly tails separately anymore, but I and undecided whether I will sell them along with the enclosure or simple place them into this one with the water dragons. If I do the latter this hide will be perfect for them and I'd probably set that entire ledge up with foliage and a separate feeding dish to make them feel secure.
That pink spot is the only damage received during the move. A quick regrout and a couple layers of sealer will fix that.
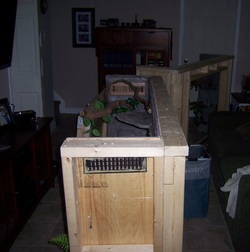
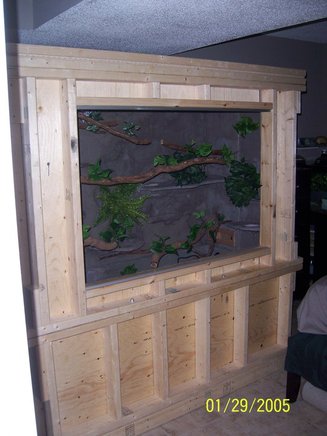
And that's with the glass doors in.
I wouldn't be doing my proper due diligence if I didn't record any of the mistakes or learning curves I've come across in this project. There have been two in the last couple days.
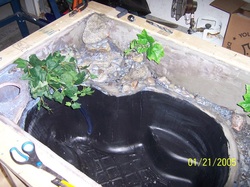
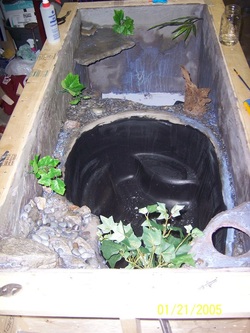
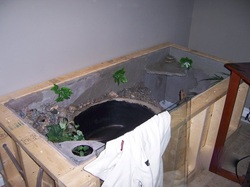
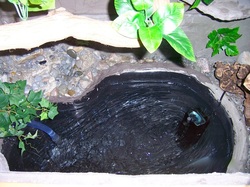
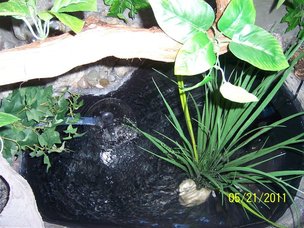
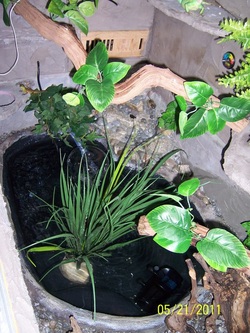
A minor problem occurred with the pond. Once I filled it up with water the weight immediately started to expand it and the grout cracked all along the rim. Thinking back I probably should have filled the tub with water before I began grouting. Either way I immediately regrouted the cracks and then applied a coat of acrylic sealer, as seen in the photo.
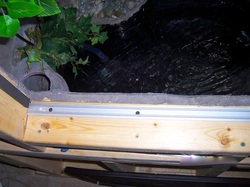
This isn't so much a construction problem than a behavior problem of the lizards. Originally I had my window tracks closer to the front, but this gave a ledge for my dragons to sit on and rub their noses back and forth. I moved the track further to the back so there's less of a ledge to sit on.
Sad news, unfortunately the waterfall in the enclosure is probably not going to be functional. It has a small leak still somewhere. Where exactly it is, is a mystery to me and it's practically impossible to locate it. I think the landscape suffered a few minor cracks when i added the water and the pond basin expanded. As an alternative I may get one of those sprinkler heads to place in the pond instead. Either way it is too much of a risk running the waterfall inside the house.
Sad news, unfortunately the waterfall in the enclosure is probably not going to be functional. It has a small leak still somewhere. Where exactly it is, is a mystery to me and it's practically impossible to locate it. I think the landscape suffered a few minor cracks when i added the water and the pond basin expanded. As an alternative I may get one of those sprinkler heads to place in the pond instead. Either way it is too much of a risk running the waterfall inside the house.
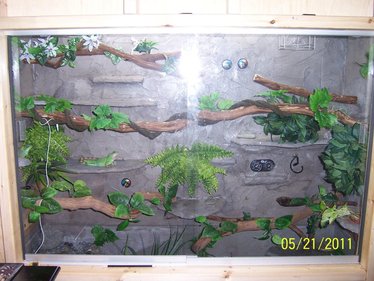
Ok here's what is the finished product.
I will be adding more stuff as I go along, but the basic idea of the vivarium is completed.
I will be adding more stuff as I go along, but the basic idea of the vivarium is completed.
To give a rough idea of what the temps and humidities are like; The top right side of the tank is it's hottest spot with an ambient temp of about 90 that gradually decreases to about 73 by the time you get to the bottom substrate. the main perch that extends across the entire enclosure reads around 80 which is perfect because ambient temps for water dragons should be around high mid to high 70s with an occassional 80. I feel that the enclosure gives a large gradient of temps that they can pick from and they do. Jumping up and down from high branches to low branches all day. The humidity inside has a variant range as well. The higher up you go the drier it gets. I get about 40-50% readings up near the top, 60-70% in the middle and 70+ down in the substrate. I figured this is ideal conditions as well because it allows my dragons to pick and choose their humidity as well
As I said, the waterfall has turned out to be a let down, but I designed a nice sprinkler instead that probably serves its purpose better, so I'm still happy.
