Loading
DIY: REALISTIC FOAM BACKGROUND
Hedy S. (BarelyBreathing)
Barely Breathing Studios
www.reptileforums.net
Supply list
Great Stuff brand Triple Expanding spray foam
GE Silicon1 or DAP Aquarium safe silicon
Particle substrate (sand, dirt, bark flakes, coco fiber)
Natural (no die) pillow moss or lichen
Butter knife
Flooring knife
Decorations (wood, rock, fake plants)
Enclosure (glass or wood is fine)
A well ventilated area
Ventilation mask
Rubber gloves
Foam brush
Contact Paper
Step one
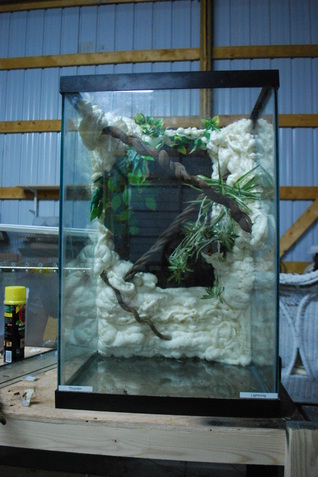
Clean the inside surfaces of the enclosure that will come in contact with your foam. I prefer Windex for glass. Wipe dry and lay the enclosure on its back so that the surface you are going to put your background on is flat.
Step two
Lay out your larger decoration items. Once you have figured out their placements, you can silicon them directly to the background.
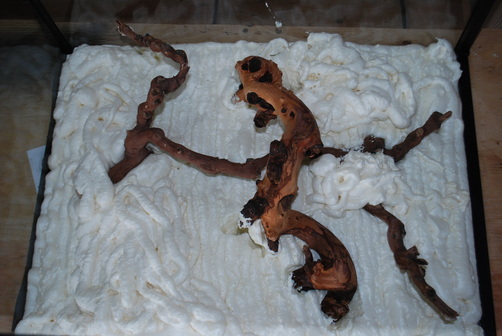
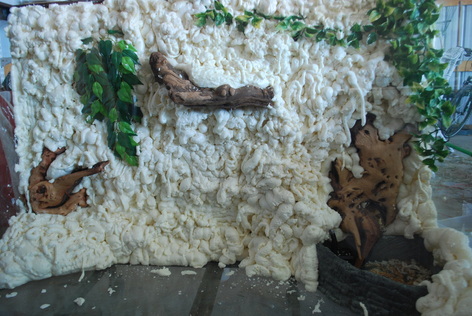
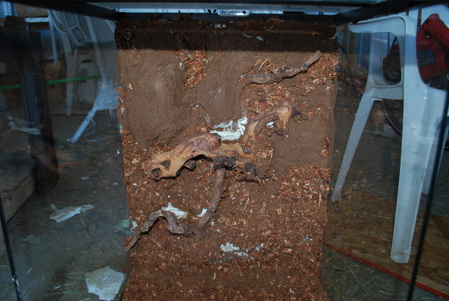
Step three
Put on gloves. Foam sticks to everything and takes weeks to come off of skin. Follow preparation instructions on the foam can. You can begin foaming. Remember, the foam can be sculpted upon drying and any stray foam can be cleaned.
Step four
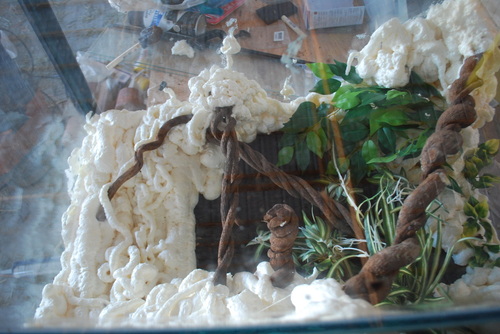
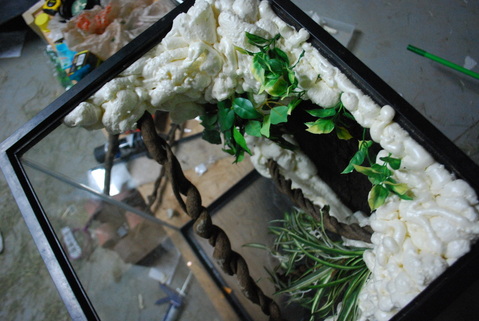
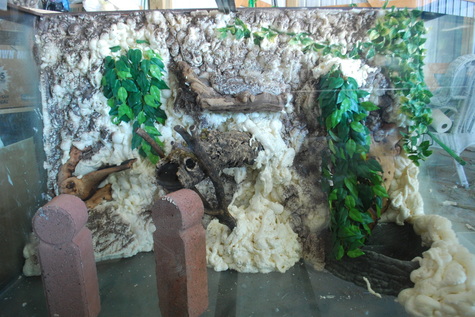
Add more decorative objects into your foam, and secure them in place with more foam. Use support items if need be, but remember to place your supports on a dry, non foamed area. You can use a brick, a box, or really anything as a support. I’ve even used an action figure.
Add more decorative objects into your foam, and secure them in place with more foam. Use support items if need be, but remember to place your supports on a dry, non foamed area. You can use a brick, a box, or really anything as a support. I’ve even used an action figure.
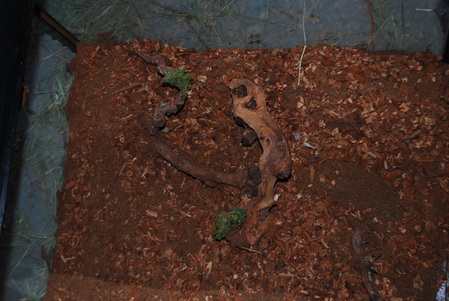
Step five
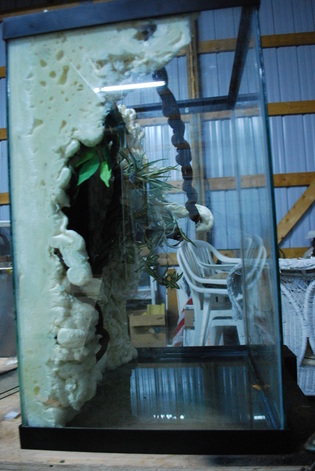
Wait for your foam to dry. This takes longer in cooler conditions. I recommend waiting overnight to be sure the foam is fully dry. Remove your support items.
Wait for your foam to dry. This takes longer in cooler conditions. I recommend waiting overnight to be sure the foam is fully dry. Remove your support items.
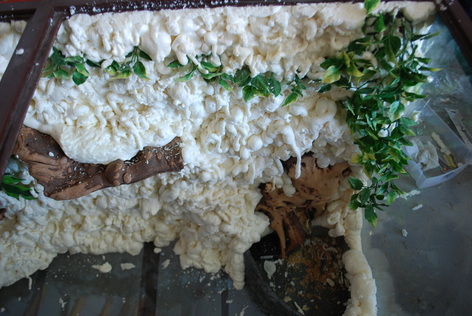
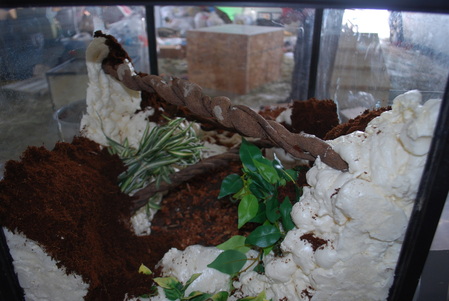
I added the cork round as an afterthought, I had already started applying colour to the background.
Step six
If you have any areas you want to sculpt out, now is your time to do it. Use your flooring knife to create texture. Your butter knife does a great job of taking foam off of glass and decorations.
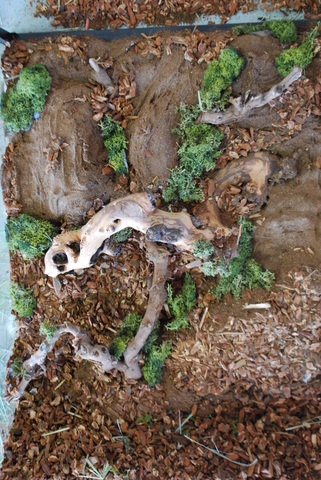
Step seven
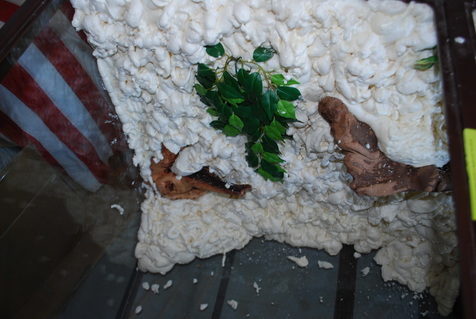
It’s time to add particle substrate to your background! This needs to be done in sections, because it includes siliconing substrate to your foam background. You will want to cover the silicon before it dries. To do this, add some silicon to your foam and spread it out over about a 6”x6” area using your foam brush. Immediately cover this in your substrate of choice. Wait for that area to dry (wait overnight) before brushing out the extra substrate and repeat as necessary. Always use gloves and a mask when working with silicon, and make sure you are working in a well ventilated area.
Tip! You can silicon a second section while you are waiting for the first to dry if you are sure the second area of silicon won’t come in contact with substrate on the first area. Dirty silicon doesn’t stick too well.
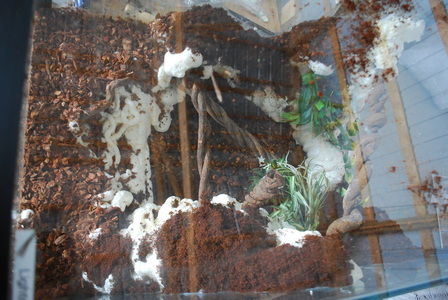
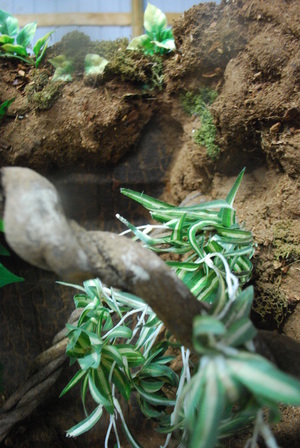
Once your background is covered and dry, you can add a few drops of silicon and stick on some moss or lichen to a few areas for visual effect.
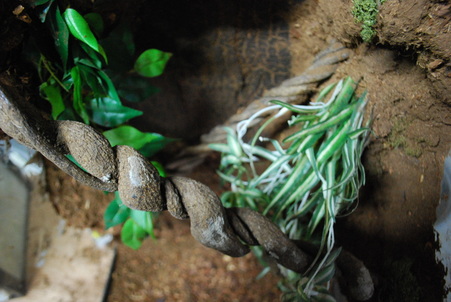
Final step
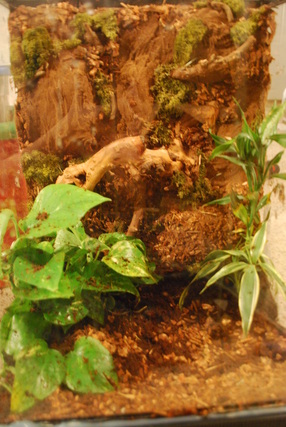
Leave your enclosure open until all fumes have dissipated. Once there is no more smell, you can add live plants and animals!
Leave your enclosure open until all fumes have dissipated. Once there is no more smell, you can add live plants and animals!


HEDY
Photos curtesy of Barely Breathing Studio
contact@ barelybreathingstudios.com
Photos curtesy of Barely Breathing Studio
contact@ barelybreathingstudios.com
